Adobe Creative Cloud is a group of application and services which provides access for its users to a set of software. However, during the installation of the Creative Cloud Applications, users often receive the Adobe Error 7.
The Adobe Creative Cloud software is used for graphics designing, web development, photography, video editing, along with a collection of mobile applications as well as few cloud services.
Along with the good features, users also face some issues and are required to deal with the problems before they become bigger. This article provides you with the troubleshooting methods to fix the error.
Possible Indicators of Adobe Error 7
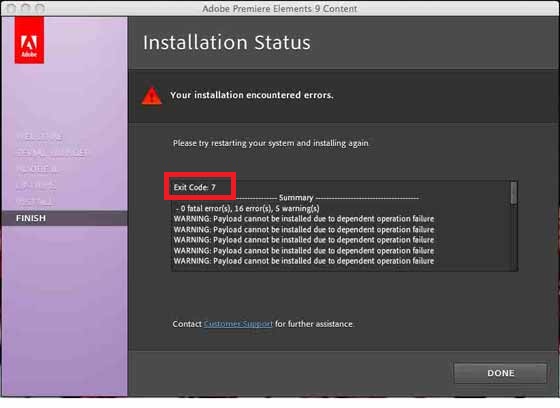
- The Adobe Creative Cloud Error 7 appears during the installation of the Creative Cloud Applications.
- “Photoshop Error Code 7” displays on the window screen.
- Frequent hanging or freezing of the PC.
- Window system runs in a sluggish way and responds slowly to the mouse and keyboard inputs.
What causes the Error 7 to take place?
- An incomplete download, as well as the Corrupt installation, is often the reason why this problem appears.
- Malware programs harm the critical files of the system and Photoshop which causes the Error 7 to arise.
- The installation of third-party files and programs from the web is one of the major reasons for the occurrence of such errors. There could be harmful programs wandering around which if found infiltrating your system, may harm the files and thus result in the Error 7 message display.
Remedies to Resolve Adobe Error 7
Non-technical users may find it difficult to resolve these issues on their own. It is recommended to contact Adobe Customer Care and avail proper help from the experts.
Following are a couple of troubleshooting methods you can try and see if you can fix the error on your own.
1. Uninstall and Reinstall the Photoshop
This is a common remedy that many users usually follow to fix the error. Firstly, open the start menu and go to control panel to uninstall the app.
Once the uninstallation process is done, go ahead and install the app again. And finally open the App again.
2. Rename Adobe Folders
Make sure you have tried the uninstallation and reinstallation process before attempting to implement this troubleshooting method.
Here are the steps to rename the Adobe folders of the application.
- First of all, navigate to:
- MacOS : /Applications
- Windows: C:\Program Files\Adobe
- Now check the folders that are named after the programs that you are looking to install. Rename them after identifying it.
- Now locate for a folder named ‘AdobePatchFiles’ and rename the folder.
- Now for the MacOS users only. In the Application Folder, rename the name of the Adobe Folder to ‘Adobe Old’.
- Finally, the installation process is successful then it confirms that the Adobe applications are working fine.
- At last, delete the files which you renamed previously.
We are only a Phone Call Away | Call Us Now!

Although the above-mentioned methods should resolve your issues, however, if you were unable to fix the Adobe Error 7 by your own then contact us.
At Adobe Customer Care, we have a group of dedicated experts who work 24×7 to provide accurate solutions to your queries. We pride ourselves on offering high-quality service and satisfying our customers with the most suitable and appropriate resolving methods.
Call us anytime at our helpline number +1-888-796-4002 with your queries, our experts will respond to all the questions put forward by you and come up with proper remedies. We provide 24×7 with an aim of providing you with long-term solutions.