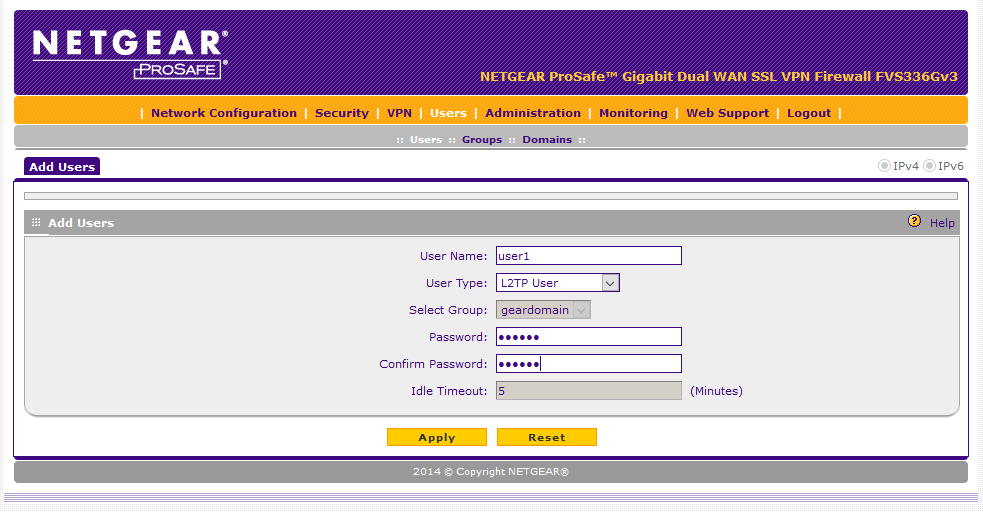
Netgear authentication problem is one of the most common issues that one can get when using a Netgear router. You can encounter this glitch due to various reasons. Some of those reasons are as follows:
- This issue can result when the configuration settings are not correct.
- You can face this error if the credentials entered does not match with the already saved ones.
- Sometimes, if the firmware of the router is obsolete, then there is a possibility of encountering this problem.
- If the hardware of the router malfunctions, then also you can face this issue.
In the next section, you will get the standard process of authenticating a Netgear router.

Steps To Authenticate The Netgear Router
This section will provide the standard way to authenticate your Netgear router. Follow the simple steps mentioned below to do it by yourself.
- First, launch a web browser that you wish. In it, type ‘routerlogin.com’ on the address bar and then hit the ‘Enter’ key.
- This will open the login page to get inside the setup page of the router. Now, here input the default username and password in the ‘Username’ and ‘Password’ fields respectively. Both of these credentials are present on the base label of the router, even the address (routerlogin.com) is also present.
- Now, after entering the credentials you will come to the setup page of the router. On that page, tap on the link ‘Wireless Settings’ which is present on the left panel of the window. When you click on this link, it will show the security configurations and network on the middle of the page.
- Next, find the section ‘Security Options’ and then choose a radio button ‘WPA2-PSK [AES]. It makes a section called ‘Passphrase’.
- Now, in the area ‘Passphrase,’ type a password with a mixture of numbers and letters. After that, hit the button ‘Apply’.
- Next, quit the web browser and tap on the ‘wireless’ icon present just beside the ‘volume’ icon. When the number of connections is displayed, choose the one that has your router’s name. Then, input the passphrase when there is a prompt and tap the button ‘Connect’.
- This will correctly authenticate the Netgear router and thus your wireless connection will be established.
Solutions To Eradicate The Netgear Authentication Problem
In this section of this article, we will discuss the various steps that will help you to eliminate this glitch in the most exhaustive manner.
Update The Firmware of Your Netgear Router
You might encounter this error if the firmware within your router is obsolete. Thus, the only way to resolve this issue is to update the firmware of the router. In order to do that, follow the steps mentioned below.
- First, open the web browser that you wish. After that, visit the official website of Netgear.
- Next, within that website, locate the search field. In that field, type the ‘model number’ of your router and append it with ‘firmware’.
- Then, from the search result, find the specific firmware for your router. You can easily locate it if you follow the items in the search result list with the model number of the device.
- Now, download the firmware. After the download process is complete, install the program after following the details accordingly.
- When the installation is over, just reboot the router and inspect if you are still getting this issue or not.
Set The Wireless Connection Once Again
Most of the time, you can rectify a majority of issues with your router just by setting the wireless connection once again. So, perform this procedure in order to correct this issue as well.
- First, tap both the ‘Windows + I’ keys together to launch the ‘Settings’ window.
- In that window, locate and choose the category ‘Network & Internet’. Now, you will come across a new page. In it, go to the left pane and select the option ‘Wi-Fi’ under the heading ‘Network & Internet’.
- Now, on the same page with the heading ‘Wi-Fi’, hit the link ‘Show available networks’. This will show the list of wireless networks that the machine can detect. Choose the network that you want to connect.
- Next, right-click on the chosen network and after that, hit the option ‘Forget’ from the options list. This will render the network unrecognizable.
- In order to find and connect this network, first turn off the ‘Wi-Fi’ from the ‘Settings’. Then, after sometime input the credentials.
Change the Configuration Settings of Network
You can face the Netgear authentication problem if a wrong IP address is set. Therefore, the solution is to change the configuration settings of the wireless network to a correct one. In order to do that, follow the simple steps as mentioned below.
- First, click on the ‘Start’ menu, then click on the ‘Gear’ icon present just above the ‘Power’ icon. This will make the ‘Settings’ window come up.
- Inside that window, find and choose the category ‘Network & Internet’. After that, from the new page go to the left pane and select the ‘Wi-Fi’ option. Now, in the new page, under the heading ‘Related settings’, hit the link ‘Change adapter option’.
- From the new window, choose the network adapter that is currently connected and right-click on it. Then, from the popup option list, choose the ‘Properties’ option. This opens the ‘Wi-Fi Properties’ window. Next, from the list, double-click on the option ‘Internet Protocol Version 4 (TCP/IPv4).
- In another window with the name ‘Internet Protocol Version 4 (TCP/IPv4) Properties’, choose the option ‘Obtain an IP address automatically’ and next, select the option ‘Obtain DNS server address automatically.
- At last, tap on ‘OK’ button and close all the windows. Then reboot your computer.
Alter the Wrong Credentials of the Wireless Network
If you input wrong passwords that do not match with the one that is present on the database, then you can get this error. In order to correct this issue, the best solution is to forget the network.
- First, choose the wireless network where you have provided the wrong credentials from the wireless icon on the system tray.
- Next, right-click on it and choose the ‘Forget’ option to remove the credentials of that network.
- After that, turn off the Wi-Fi network and wait for a few seconds. After some time, turn it back on and choose the Wi-Fi network that you want to connect to.
- Now, in the field ‘Password’, input the correct password to connect to the network.
Perform Factory Reset of Your Router
If none of the above solutions works for you, then the last resort you have is to perform a factory reset of your router. In order to do a reset of a Netgear router, follow the steps mentioned below.
- While the router is turned on, go to the back side of it and look for the small button or hole with the label ‘Reset’ written under it.
- Now, you can either press the button or insert a pin on the hole for five seconds until the ‘Power’ light starts to flash.
- After five seconds, release the button and then wait for the ‘Power’ light to become solid.
- When the light is solid, then it means that your router is set to its default settings. Now, you can change the configuration settings, according to your preference.
Avail of our service 24×7
Since this is a very crucial problem you cannot ignore it. It is very time-consuming and is not profitable always to solve it manually. Call us at +1-888-796-4002 or mail us at our official email id [email protected] to book our service. Chat with our professionals for any query.

