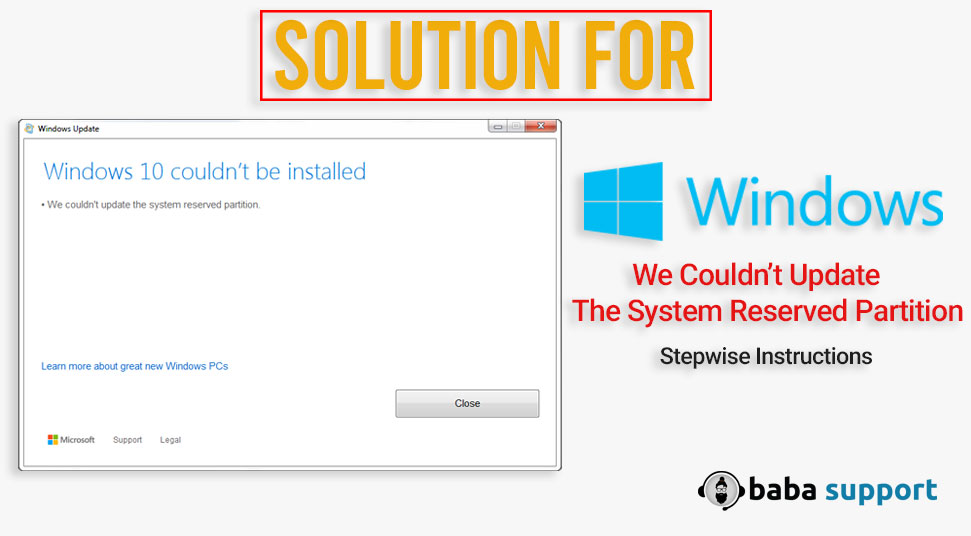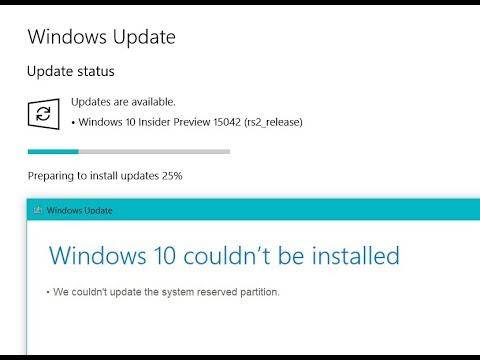
Windows make use of a separate partition called the “System Reserved” when the user installs the OS version on his/her computer. This partition is not allotted any drive letters. Hence, you will only be able to see it if using “Disk Management. This “System Reserved” was first introduced in Windows 7.
In this post, it will cover some useful information on resolving “We couldn’t update the system reserved partition” error message.
Steps to Fix “We Couldn’t Update The System Reserved Partition”
This error means that the “System Reserved” partition storage has become full. In this partition, some of the anti-virus apps and third-party app’s data get stored. However, it may sometimes, result in the filling up of the storage space. This is why users couldn’t update the system reserved partition.
Now, let’s discuss the solution to resolve this error. These are very critical steps, and you should not proceed without reading the whole procedure.
1. Expand the System Reserved Partition By using a Third-Party Software
The System Reserved Partition cannot be expanded by Disk Management. If you try to expand it through this option, you will see that the “Extend” option has been greyed out. Hence, to extend this, you need to download any third-party app. This app should be from a trusted source.
Download the software and install it. After opening the app, right-click on the drive in which the “System Reserved” partition is located and click “Resize Partition”.

Wait until a prompt appears saying “Move and Resize Partition”. Then, you have to check the box saying: “I need to move this partition”. You can now adjust the storage you want to allocate on that drive. After that press “OK” to confirm the settings.
Go back to the main page and you will notice that there is some unallocated storage after the option of System Reserved partition.
Next, you have to repeat step 2 and a pop-up window will appear. In that window, increase the storage allocated to the “System Reserved”. Then confirm your allocation value by pressing “OK”.
Lastly, press “Apply” to confirm the process. Now, your computer will restart and the process will be completed and the storage of the “System Reserved” partition will increase.
If you are receiving issues regarding “Windows 10 we couldn’t update the system reserved partition”, follow the below-discussed methods.
2. Partition of Windows 10 having GPT Method of Partition
For this method, you first have to bring up the command prompt. You can launch it by typing “Command” in the search bar or Cortana. After that, right-click on the “Command Prompt” and select the “Run as Administrator” option.
- Now, within the Command Prompt window, type the command given below:
“Mountvol y: /s”
By doing this, the Y: drive letter will be added. It will help you to gain access to the System Partition.
- Then, change the Y drive by typing “Y:” after that and hit “Enter”.
- Next, you need to go to the folders of the Fonts. For that, type the following command:
“ cd EFI\MICROSOFT\BOOT\FONTS ”
- After entering the folder, you need to type “ de *.* “. This will delete all the files in the Fonts file.
Then, the system will ask for your confirmation. So, if you want to continue, then press ‘Y’ and hit ‘Enter’ to proceed.
3. Partition for Windows 10 Having MBR Partition
In this method, you have to bring up the Run window by pressing the Windows key and R key simultaneously. Now in the box, type “ diskmgmt.msc ” and hit Enter.
- After that, select the System Reserve partition from the menu. Then, right-click on the System Reserve partition and select the option “Change Drive Letter and Paths”.
- Select “Add” and press Y for the drive letter and then click OK. Now, search “ cmd ” in the Start menu. Right-click on the “Command Prompt” in the search menu, and then click on “Run as Administrator”
- Now, in the Command Prompt, you have to type Y, then press Enter to go to that drive. Go to the folder of the Fonts. In the folder type the following:
“takeown /d y /r /f”
- Then, you have to back up the permission in the drive. For that, type the following:
“icacls Y:\* /save %systemdrive%\NFTFSp.txt /c /t” and hit Enter.
- You have to ensure that all the files are showing that the process is successful and no file has failed.
- Next, you have to type “whoami” and then hit enter. After that see the username. Then type the given command and press the Enter tab:
“icacls . /grant <username>:F /t”
Ensure that you are still in the Fonts folder, and type “ del *.* ”. This will delete all the files from the folder. You will be asked for permission to confirm the process. Hence, select ‘Y’ and hit Enter to complete the process.
Conclusion
So, these are the procedures to fix “We couldn’t update the system reserved partition” error. By following this process you will be able to solve this problem. But, you must be very careful and follow the process minutely.
